

You’ve probably watched a variety of YouTube videos and wondered, “How do they make it look so good?” While content and camera quality play a huge role, youtube video lighting is the secret sauce behind many professional-looking videos.
Great lighting can turn an average video into a visually stunning masterpiece, and the difference between amateur and professional often boils down to understanding and mastering lighting techniques. Let’s dive in!
Every content creator, whether starting on a tighter budget or with a dedicated studio, knows that video quality is paramount. Lighting for YouTube videos isn’t just about making everything visible; it’s about setting the mood, controlling shadows, and making the subject look their best.
A perfectly lit scene draws the viewer in and ensures that they focus on the content rather than any distracting dark shadows or overexposed highlights.
Using this three point lighting setup, you’ll create a balance that makes your subject pop while ensuring the background isn’t too distracting.
The #1 to make money online with TikTok Search (FREE TRAINING)

These gems have become synonymous with YouTube creators, especially beauty vloggers. The soft, evenly distributed light they offer makes them ideal for close-up shots, ensuring the subject’s face is lit without any harsh shadows. The iconic circular reflection they create in the subject’s eyes gives videos a polished look.
Product Recommendation: The Neewer Ring Light Kit is an excellent choice for both beginners and seasoned creators. It offers dimmable LED lights and comes with a stand and accessories. The adjustable brightness and color temperature make it versatile for different shooting needs.
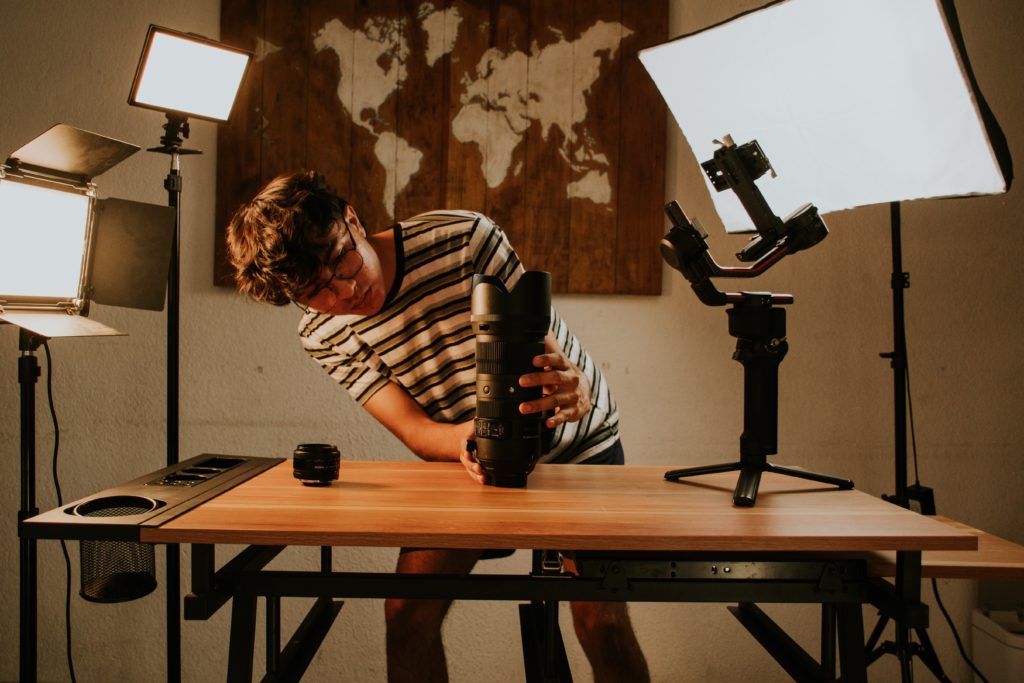
LED light panels are the unsung heroes of video lighting. Their versatility is unmatched, allowing for adjustments in brightness and, in many cases, color temperature. They can be used as key lights, fill lights, or even backlights in your video lighting setup.
Product Recommendation: Aputure AL-M9 is a compact LED panel known for its high-quality light output. It’s portable, lightweight, and offers adjustable brightness. For those seeking a bit more control over color, the GVM RGB LED Video Light provides both color temperature and hue adjustments.
There’s a certain magic to using natural light. It’s soft, flattering, and free! By positioning your subject near a window, you can harness this daylight balanced light. Yet, be cautious on super bright days to avoid harsh and unflattering shadows. Overcast days, ironically, can be your best friend in video shoots, offering soft diffused lighting.
The flexibility to raise, lower, or angle your lights is crucial. Light stands let you make those adjustments, controlling how shadows play out on your subject.
Product Recommendation: The Manfrotto 1004BAC Master Stand offers sturdy support, adjustability, and durability. It’s suitable for both beginners and professionals.
For those moments when you want to add flair, mood, or a dramatic effect to your videos, RGB lights come into play. They can provide an array of colors, giving creators the liberty to experiment with visual storytelling.
Product Recommendation: The Philips Hue Play RGB Lights are not only versatile for video shoots but also double up as stylish home decor. With the associated app, you can control brightness, color, and even sync them with music or other content.
Embracing mixed lighting is about merging the strengths of different light sources. Pairing natural light with LED light panels or ring lights can produce stunning results. Just ensure that color temperatures between lights don’t clash, which can give a disjointed feel to videos.
It’s tempting to just rely on the built-in ceiling lights, but they often lead to unflattering shadows beneath the eyes and nose. Lights placed at eye level or slightly above provide a more balanced and flattering look.
Remember, the right lighting can elevate your videos from good to extraordinary. It’s worth investing time and, if possible, a bit of money to master these techniques. Happy filming!
Not everyone can afford a complete studio lighting setup right off the bat. But don’t fret! You can start with what you have. A window providing natural light paired with an affordable ring light can work wonders. As you grow, consider investing in led light panels, light stands, and additional lights to round up your setup.
Creating high-quality YouTube videos requires more than just a good camera. A dedicated lighting setup plays a pivotal role in determining the overall quality and appeal of your content. Whether you’re filming indoors or outdoors, in a controlled environment or on-the-go, the right equipment can make all the difference. Here’s a guide to the best equipment to invest in for top-notch YouTube videos in any situation.
The #1 to make money online with TikTok Search (FREE TRAINING)
While having the right equipment is essential, understanding the basics of lighting and composition is equally crucial. Invest in good-quality gear, but also take the time to learn and experiment. With the right tools and knowledge, you can create YouTube videos that captivate and engage your audience.
Lighting is not just about visibility; it’s an art. With the right techniques, even someone on a tighter budget can create visually stunning YouTube videos that captivate their audience. Remember, the best lighting setups is the one that fits your content, style, and budget. Always experiment, adjust, and learn. The spotlight is yours!
Happy shooting!


