
In today’s fast-paced digital world, communicating effectively and efficiently has become a cornerstone of both professional and personal success. This is where tools like Loom, a screen recording tool, have emerged as game changers. In this article, we’ll dive into the “loom recorder pros and cons,” exploring how this tool shapes the way we create and share video content.
Before we delve into the pros and cons, let’s briefly understand what Loom is. It’s a versatile screen recording tool that allows users to record videos, capture screen activities, and share them easily. Whether it’s for creating training videos, recording quick video messages, or just sharing ideas, Loom offers a platform to do it all. But like any tool, it has its strengths and weaknesses.

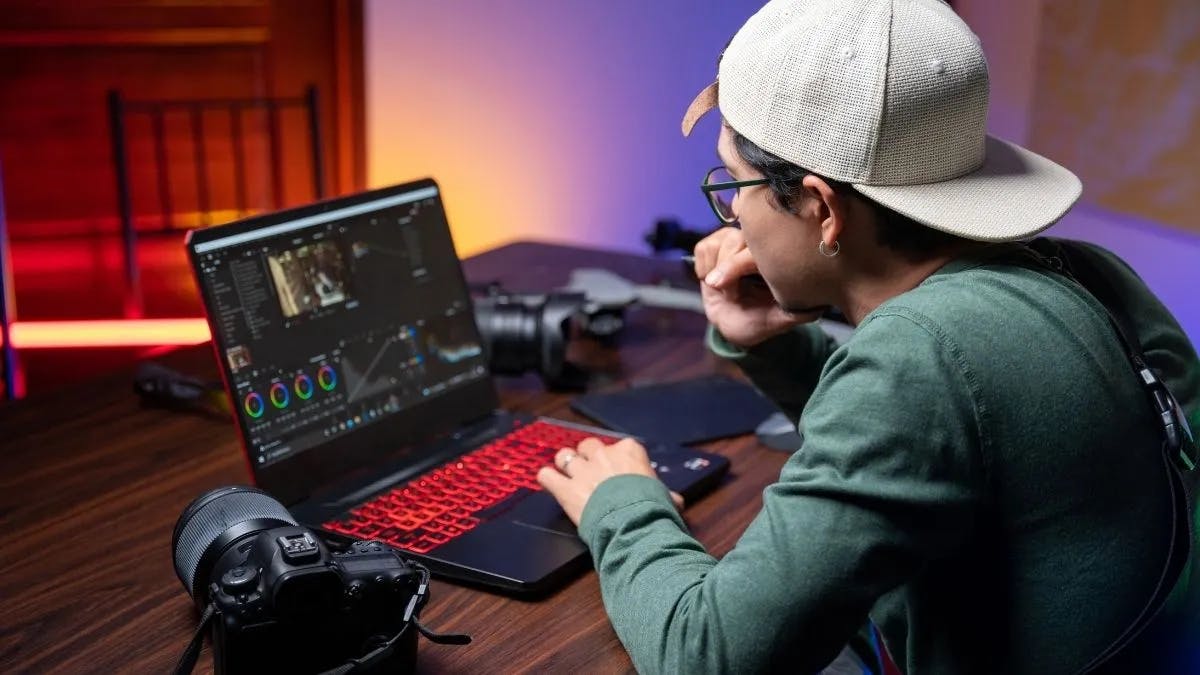
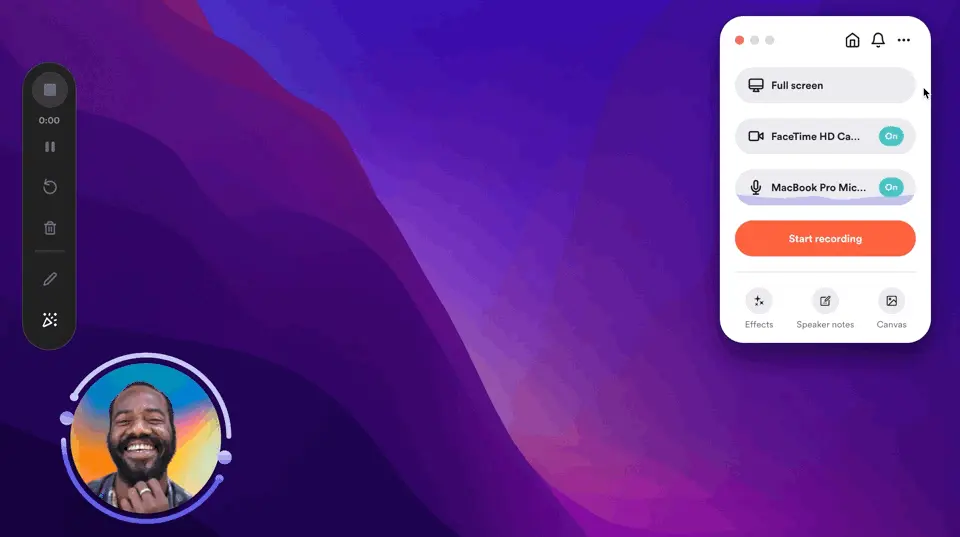
One of the most lauded aspects of Loom is its user-friendly interface. The process to start recording is straightforward. You click on the Loom icon, choose what you want to record—your full screen, a browser window, or just a part of it—and hit record. It’s this simplicity that makes Loom an “easy to use tool” for professionals and small businesses alike.
With Loom, you aren’t just limited to recording your screen. The tool offers the flexibility to record video messages using your webcam, capture a talking head along with your screen, or even record just the webcam footage. This versatility makes it an indispensable tool for creating a variety of video content.
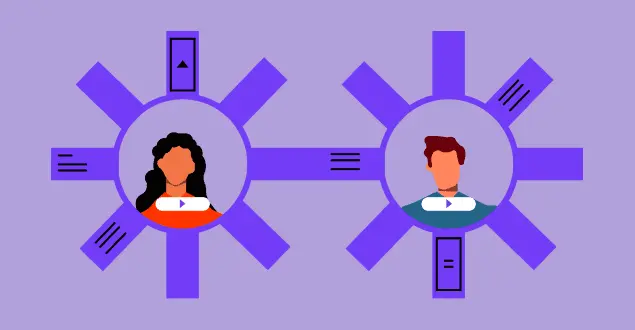
After recording videos, sharing them is a breeze with Loom. The tool automatically saves videos to your Loom account, from where you can easily share them via a link. This feature enhances team collaboration, making it a valuable tool for remote teams and asynchronous communication.
For those starting out or with minimal requirements, Loom’s free version offers enough features to get going. It includes up to an hour of recording, which is quite generous compared to many other screen recording tools. This makes Loom a great tool for individuals or small teams on a budget.
While the free version is generous, the paid version of Loom comes with a significant price tag. This can be a deterrent for individuals or small businesses with limited budgets, especially when considering long-term use.
When it comes to video editing, Loom offers basic features like trimming. However, for those looking for advanced editing features for professional training videos or high-quality content creation, Loom might fall short. Users seeking more comprehensive video editing capabilities might need to look elsewhere.
Some users have reported experiencing difficulties in cutting recordings or issues with the recording interface. While these instances are not widespread, they can be frustrating, especially when working on time-sensitive projects.
For those who prioritize high video quality, it’s important to note that Loom may not offer the highest resolution recording. This could be a limitation for content creators who need high-definition videos for their projects.
Now that we’ve explored the “loom recorder pros and cons,” the question arises: Is Loom the right screen recording tool for you? The answer depends on your specific needs. You should be aware that Loom offers both a free and paid version, its important to assess which one would suit your needs better.
The free version of Loom is an excellent starting point for individual users or educators who are new to video content creation. Here’s what it offers:
Basic Recording Features: Users can record their screen, camera, or both, providing flexibility in content creation.
Video Length Limit: The free version typically has a limit on the maximum length of each video. This is usually sufficient for short instructional videos or messages.
Storage Capacity: There is a limit on the number of videos you can store on your Loom account.
Video Quality: The free version offers standard video quality, which is generally adequate for most purposes.
Editing Tools: Basic editing tools, such as trimming the start and end of videos, are available.
Sharing Options: Users can share videos via a link, but more advanced sharing options may be limited.
The #1 to make money online with TikTok Search (FREE TRAINING)

Loom Pro is geared towards professionals, businesses, and educators who require more advanced features. It includes everything in the free version, plus:
Unlimited Video Length: There’s no cap on the length of your videos, ideal for in-depth tutorials or presentations.
Enhanced Storage: Pro users enjoy significantly more storage space for their videos.
Higher Video Quality: The paid version supports higher resolution videos, ensuring your content looks sharp and professional.
Advanced Editing Tools: Additional editing capabilities, such as adding a call-to-action or custom thumbnails, enhance viewer engagement.
Advanced Analytics: Understand how your audience interacts with your videos through detailed analytics.
Team Collaboration: The Pro version often includes features for team collaboration, making it easier to work on video projects as a group.
Priority Support: Paid users usually get priority when it comes to customer support, ensuring quicker responses to queries and issues.
Who Should Use the Free Version?
Who Should Opt for Loom Pro?
In summary, while Loom’s free version is a great tool for basic video recording needs, the Pro version is a worthwhile investment for those seeking enhanced features, such as improved video quality, unlimited storage, and advanced editing tools.
Your choice ultimately depends on your specific needs and the level of complexity required in your video content creation.
For those who need more than just basic recording and sharing—like high-end video editing or professional-grade video quality—Loom’s limited features might be a deal-breaker. In such cases, exploring other tools with more advanced editing features might be the way to go.
While the free version is adequate for many, weighing the benefits against the cost of the paid version is crucial for budget-conscious users. Small businesses and individuals might find the paid version a bit steep.
For educators and professionals looking to integrate screen recordings into presentations or enhance their digital content, Loom seamlessly integrates with tools like Google Slides. To learn more about enhancing your presentations with sound or converting PowerPoint to Google Slides, you can explore these insightful articles: PowerPoint to Google Slides Conversion Techniques and How to Add Audio to Google Slides.
Creating online courses requires effective tools to present and share information with your students. Loom Screen Recorder (www.loom.com) is an excellent option for educators and course creators. Here’s an in-depth guide to help you use Loom to create engaging online content:

By following these steps, you’ll be able to create professional and engaging content for your online courses using Loom Screen Recorder. Remember, practice makes perfect, so don’t hesitate to experiment with different features to find what works best for you and your students.

Loom has become a go-to tool for creating recorded videos, especially for educators and professionals developing online courses. Its screen recording capabilities and video messaging features make it a versatile platform.
However, when it comes to incorporating Loom videos into your course, you might want to further edit them to ensure they align perfectly with your educational content. Here’s how you can edit recorded Loom videos, both within Loom and using external editing programs.
Basic Editing Features: Loom offers a suite of video editing features that are sufficient for basic adjustments. You can trim the start or end of your videos, ensuring that only the relevant parts are included in your final cut.
Screen Capture Adjustments: If your Loom video involves screen capture, you can use the built-in editing tools to highlight or annotate important sections, which can be particularly useful in tutorials or demonstrations.
Automatic Video Saving: One of the convenient features of Loom is that it automatically saves your videos as you record them. This means you can start editing your video immediately after recording, without worrying about manual saves.
Adding Video Messages: For a more personalized touch, you can add video messages or introductions directly in Loom, enhancing the engagement level of your course material.

While Loom’s built-in editing capabilities are adequate for basic adjustments, you may require more advanced features to edit videos for your online course videos. Fortunately, Loom videos can be exported and edited in other video editing software.
The #1 to make money online with TikTok Search (FREE TRAINING)
While Loom itself offers a range of video editing features suitable for basic edits and video messaging, for more advanced editing, you can export your Loom videos to external video editing software. This flexibility allows you to create highly professional and engaging content for your online courses, making the most of your recorded videos and screen recording features.

Loom’s screen recording feature is a valuable tool for creating and sharing videos, but like any software, users may occasionally encounter issues. Whether you’re using the Loom web app, desktop app, or the Loom Chrome extension, here’s a guide to troubleshooting some common problems.
Issue: Your entire video doesn’t automatically save after recording.
Solution:
Check Internet Connection: Ensure you have a stable internet connection. A poor connection can hinder the auto-save feature.
Update Loom App: Make sure your Loom desktop app or web app is updated to the latest version.
Clear Browser Cache: If using the web app, clear your browser’s cache and cookies, as this can sometimes solve saving issues.
Issue: The screen recording feature fails to start, or the screen records improperly.
Solution:
Restart the App: Sometimes a simple restart of the Loom desktop app or web browser can fix this issue.
Check Permissions: Ensure Loom has the necessary permissions to access your screen. This is particularly important for first-time users or after an OS update.
Update Your System: Outdated operating systems can cause compatibility issues with Loom. Ensure your computer’s OS is up to date.

Issue: The Loom Chrome extension isn’t functioning correctly.
Solution:
Reinstall the Extension: Uninstall and then reinstall the Loom Chrome extension. This can resolve many common glitches.
Check for Conflicts: Disable other browser extensions one by one to check for conflicts that might be affecting Loom’s performance.
Issue: Receiving poor video feedback or quality issues.
Solution:
Adjust Settings: In the Loom app, adjust the video quality settings. Lowering the resolution can improve performance on slower machines.
Check Hardware: Ensure your webcam and microphone are properly connected and functioning.
Close Unnecessary Applications: Running too many applications simultaneously can impact video quality. Close any unnecessary programs.
Issue: Audio is out of sync with the video.
Solution:
Restart Recording: Sometimes, simply restarting the recording can fix audio sync issues.
External Editing: If the problem persists, you may need to use external video editing software to manually sync the audio.
Issue: The Loom desktop app is not functioning as expected.
Solution:
Update or Reinstall: Ensure you’re using the latest version of the Loom desktop app. If issues persist, try reinstalling the app.
Check System Requirements: Make sure your computer meets the minimum system requirements for the Loom desktop app.
Regularly Update Software: Keep Loom and your web browsers up to date.
Monitor Storage Space: Ensure your device has sufficient storage space, as this can affect the performance of applications like Loom.
Seek Help: Use Loom’s support resources or community forums for additional help.
While encountering issues with Loom can be frustrating, most problems can be resolved with some basic troubleshooting steps. Whether it’s the web app, desktop app, or the Chrome extension, these solutions can help ensure a smooth and efficient experience with Loom’s screen recording and video feedback features.
In sum, Loom stands out as a valuable tool for quick video creation and sharing. Its user-friendly interface and ease of use make it a go-to choice for many. However, its limitations in advanced editing features and the cost of the paid version are points to consider. Like any tool, Loom has its place, and its suitability largely depends on your specific needs and expectations.


